HarborHaus
One of the most consistent complaints in contractor reviews — across Trustpilot, Google, Yelp, and
Angi — is not about the quality of the work itself, but about the experience of not knowing what
was happening. “No one checked in.” “I didn’t know the crew was coming that day.” “I found out
there was a problem when I came home and saw it myself.” The stress of a home renovation is often
less about the construction and more about the uncertainty.
This guide solves that. Whether you’re about to sign your first contract or you’re mid-project and
wondering if what you’re experiencing is normal, this week-by-week breakdown tells you exactly
what should happen — and what to do when it doesn’t.
Before Day 1: The Pre-Construction Phase
Contracts and permits (1–4 weeks before start): After you sign the contract, your contractor should
immediately begin the permit application process for any work that requires one. This phase can
take anywhere from a few days to several weeks depending on your municipality. Your project manager should give you a realistic estimate of permit timelines upfront and keep you informed of
any delays from the permitting office.
During this phase, materials with long lead times — custom cabinetry, specialty tile, specific fixtures
— should be ordered. A well-organized contractor sequences orders so that everything arrives
before it’s needed, not after. Supply-chain delays are a reality, but they should never be a surprise.
Site preparation walkthrough: Before any crew member sets foot in your home, your project
manager should walk the site with you, review the full scope of work, confirm material choices, and
establish clear daily protocols: what time crews arrive, which areas of your home are work zones,
where materials will be stored, and how the space will be protected.
Week 1: Demolition and Discovery
Demolition week is usually the most dramatic — and the most unpredictable. Walls come down,
flooring comes up, and for the first time, everyone sees what’s actually inside your home’s structure.
This is when legitimate unforeseen issues most commonly appear.
What you should experience: your project manager walking the site at the end of each day,
documenting any discoveries, and communicating them to you with clear options and costs before
any additional work proceeds. Nothing should move forward without your written authorization.
What you should NOT experience: workers showing up without knowing what to do, discoveries
being hidden from you, or verbal explanations of cost changes without written follow-up.
Weeks 2–4: Rough-In Work
Rough-in refers to the structural, mechanical, electrical, and plumbing work that happens before
walls are closed. It’s the least visually satisfying phase of construction, which makes it the most
mentally difficult for homeowners — a lot is happening, but very little looks like progress.
What you should see: trade contractors (electricians, plumbers, HVAC technicians) working in
sequence, inspections being scheduled and passed, your project manager present or checking in
daily, and a running schedule update showing where the project stands against the original timeline.
Inspections matter: municipal inspectors check rough-in work before walls close. Your contractor
should welcome inspections — they validate the quality of work and protect you as the homeowner.
A contractor who tries to speed past inspections or suggests “the inspector won’t care” is a
contractor who is cutting corners.
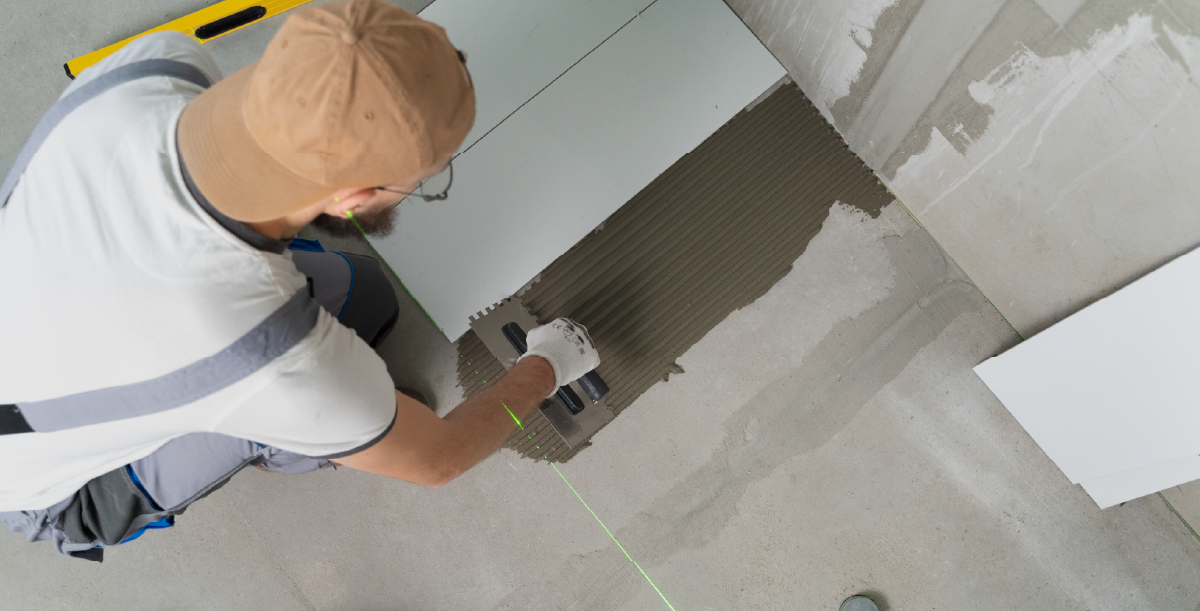
Weeks 3–6: Interior Work and Finishes
This is the phase where your home begins to look like what you imagined when you first approved
the design. Drywall goes up, paint gets applied, tile is set, cabinets are installed. It’s also the phase
where material substitutions most commonly occur.
Watch for material substitutions: if the tile sample you approved was a specific brand and color,
and something “similar” shows up on your job site, stop work immediately and contact your project
manager. Every material on your job site should match the specification in your signed contract. Any
substitution — regardless of the reason — requires your written approval.
Daily cleanup is professional behavior: at the end of each workday, tools and unused materials
should be organized, debris should be removed or contained, and your home should be left in a
respectful condition. This is not a luxury — it is a professional standard.
Final Week: Punch List and Walkthrough
The final phase is the punch list — a comprehensive list of every item that needs to be corrected,
touched up, or completed before the project is officially closed. This walkthrough should be
conducted with your project manager present, and no final payment should be made until every
item on the punch list is resolved to your satisfaction.
Take your time on the walkthrough. Bring a flashlight. Open every door and drawer. Test every
outlet, fixture, and appliance. Check grout lines and paint edges. Run water in every sink. This is your
last opportunity to have corrections made at no additional cost, and a professional contractor will
encourage you to be thorough.
Final documentation: upon project completion, you should receive all warranty documents, permit
close-out paperwork, care instructions for new materials, and emergency contacts for the aftercare
team.
After the Project: The 30-Day Check-In
A small but important number of issues only appear after a home is back in use — a cabinet door
that swings differently once the humidity changes, grout that settles, a seal that needs a second
application. A trustworthy contractor schedules a 30-day check-in to address these minor items
proactively, before they become something more significant.
At HarborHaus, this 30-day follow-up is a standard part of every project — not because we expect
problems, but because we know that perfection is a process, not a moment.